Bekijk deze video extern op:
YouTube
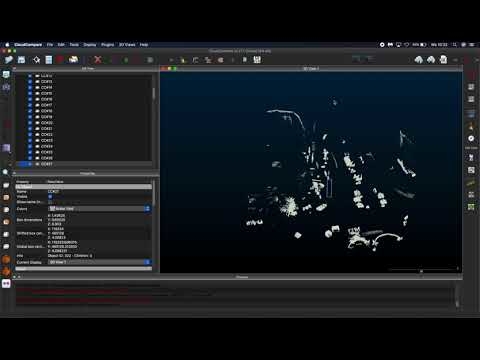
In this video, we show how to label 3D point cloud data in CloudCompare software. The different steps can be followed in the following time frames:
- 0:00 Some parts of the point cloud are already automatically labelled using this Github project: https://github.com/Amsterdam-AI-Team/Urban_PointCloud_Processing
- 0:15 split the point cloud in labelled and unlabelled points.
- 0:25 Perform the point cloud clustering. This clustering algorithm is accessible via an icon in the upper main toolbar or the 'Tools - Segmentation - Label Connected Comp.' option in the menu.
- 0:35 Label the point cloud data by adding class labels to the clusters. This tool is accessible via an icon in the upper main toolbar or the 'Edit - Scalar fields - Add constant SF' menu.
- 1:00 Remove connected points to create separate object groups. This tool is accessible via the ‘Edit - Segment' menu.
- 1:25 Merge the point clouds with 'Edit - Merge' in the menu, or via the icon in the upper main toolbar.
Auteur: Chris Eijgenstein
Dit artikel is afkomstig van: How to Label a Point Cloud using CloudCompare software (amsterdamintelligence.com)
